Monday, April 29, 2013

Steering Rebuild Complete

Over the weekend I completed the steering gearbox rebuild. Got the new horn button wire soldered in place, and put everything back together. I'll be picking up my axles from the shop tomorrow and putting them back on the frame along with the leaf springs, and then hope to have the chassis painted before long. Here are some shots of the completed steering gearbox to compare with the pictures in the previous post:


Wednesday, April 24, 2013

Steering Rebuild

Before I get into the steering, here's the progress on the brake and clutch controls. It's coming together nicely with the steering gearbox loosely bolted on just to see how it fits.


This is what the outside of the steering gearbox looked like after pulling it off the jeep, in all it's greasy nastiness:


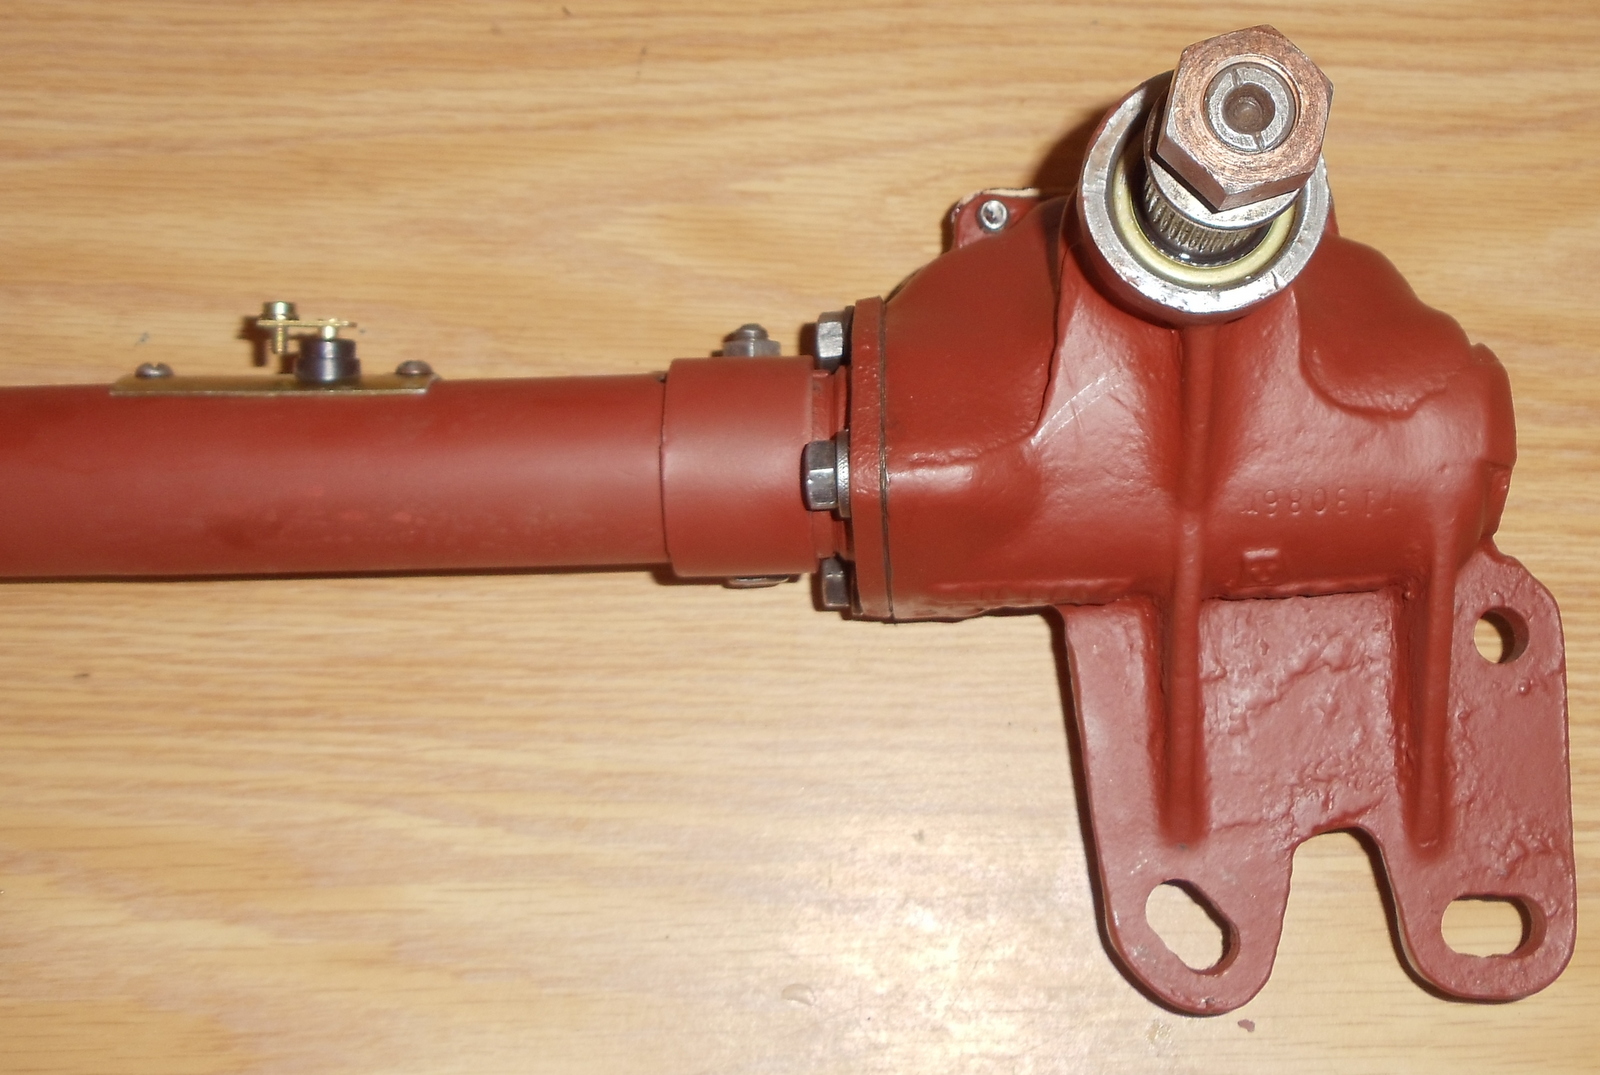
Inside, it was full of grease, even though oil is the recommended lubricant. The good part about that is that there was absolutely no rust whatsoever and most parts were in good usable condition. One thing I noticed was that whoever installed the bushings for the sector/steering shaft (at top of top photo with nut on the end) installed them incorrectly. They put them in so the oil/grease could flow out to the seal (instead of stopping before the seal) which is probably one reason the gearbox is so greasy. That and the original seal (made of leather) was basically non-existent. Which is probably why there was grease in the gearbox - oil would just drain right out.

I've completely disassembled all the steering and have it all cleaned up and some items rebuilt. Drag link and bell crank are rebuilt (bottom of photo, left and right, respectively). Once I get the new horn button wire soldered back in place, I can reassemble and the steering should be ready to go!


Steering wheel is also cleaned up, painted and ready to go:


Friday, April 5, 2013

Original Fuel Tank and Disc Brake Rotors

Started cleaning up the original fuel tank today, mainly just knocking off the dirt that has been caked on there for who knows how long. It was looking pretty good until I cleaned up the rear facing section where I found this:


Rust out section is about 6 inches long. A guy up in Salt Lake says he can repair it, no problem. We'll see how that goes.

Today I also got the disc brake rotors! They looked kinda rough at first, but cleaned up easily enough after about 20 minutes with a wire wheel on an angle grinder.


These are for a 1990's Geo Tracker or Suzuki Sidekick, but I think they really designed them with WWII jeep disc brake conversions in mind. ;) Check out the fit on the hub with absolutely no milling or modifications (rotor isn't fully seated in pictures, wheel studs will stick out another inch when rotor is pushed all the way back):


Wednesday, April 3, 2013

Rear Axle Ready

The rear axle is FINALLY ready! These things sure take a lot of attention and work. I've done all that my ability allows and have the axle ready to take to a local shop. I'm taking it there just to have it checked over internally to make sure all the gears inside are good to go. Here it is freshly primed:


If you are familiar with jeeps, you probably noticed the drums are missing from the hubs. That is because I elected to make one update to the jeep in order to make it much safer to drive, and that is to install disc brakes. I have an engineer friend who is putting together the conversion and has put the same conversion on his jeep. A bracket will be bolted to the end of the axle tube (where the backing plate that holds the brake shoes is normally bolted on) which will hold the brake caliper, and then the rotor simply slides on over the hub before the wheel is put back on.